A Home Made Ghost Pinata

I made this pinata last year for our Halloween party but never got around to sharing it. This project is easy and lots of fun as long as you are not a perfectionist with your decorations.

Since the name of the game around here is use what you have this project was totally free. I used newspaper, a balloon, flour, water, salt, crepe paper, and construction paper.

I started by covering an inflated balloon with strips of newspaper using a glue/water/salt combination. I would not use this method again since it was just difficult to spread the cold flour mixture all over. Instead, I would just use a mixture of half glue and half water. I’ve used that in the past and it’s a great consistency.

IMG_7481

Over a period of days I added several layers of the newspaper. When I felt I had a sturdy enough oval I cut a flap in the bottom of the pinata and deflated the balloon in order to remove it.

IMG_7483

Next I grabbed white crepe paper which was leftover from someone’s birthday party and covered the entire oval using a glue gun. *Remember to leave a spot open in the top so that you can hang your creation somehow.

IMG_7485IMG_7484

IMG_7486

The next step was to glue on long pieces so the “ghost” would in fact look like a ghost.

At  this point you can place the candy or trinkets into the bottom of the pinata flap and then glue it shut with some pieces of crepe paper.

IMG_7498

My five year old then helped me create a face for our ghost which we glued on.

IMG_7499

And here she is in all her glory getting whacked by my daughter at the party.

IMG_7754

Once someone busted open the pinata and everything fell out it was as if they had never seen Halloween stickers, bubbles, pencils, toys, plastic fingers and spiders before.

IMG_7755

IMG_7492

I’ll definitely be making another pinata this year – this one served us well.

Easy Lazy Day Art Project for Kids & Adults

Here’s a fun art project I discovered when cruising around the web…Glue & Salt Painting!

IMG_9735

Here are the directions:

1. Make an interesting design with some glue on your paper – we went abstract but you could easily makes a butterfly, house, car, fish, etc.

IMG_9731

2) Generously pour salt over the glue.

IMG_9729

3. Shake off the excess salt carefully.

IMG_9726

4. Use watercolors to paint the salt. The more liquid the paint the better.

IMG_9741

5. The salt will just absorb the paint right up.

IMG_9742

6. Have fun!

IMG_9746

I even got in on the art action with my creation below.

IMG_9736

My younger two and I had a really nice time painting on a rainy day. We sat at the table for about an hour making several pieces a piece. We listened to Radio Disney while we painted and just talked about all sorts of topics.

IMG_9737

I could have used the time to clean the dishes or fold some laundry but I’m really glad I just sat and spent some time with my kids.

*Sidenote – this is art that will be thrown away after a day since the salt makes it virtually impossible to hang up*

Simple Spring (& Summer) Mantle

We recently had company coming over and an empty mantle so I looked around the house for some materials to make something.

I had recently ordered several $5, 8 x 10 canvases for our house from an online company. The pictures were from my brother’s wedding last summer so I thought they would work on the mantle for now until I put them up on the wall at some point.

IMG_9263

I had an old sewing hoop which I covered in green fabric. I then glued on some yellow ric- rac around the edge. Finally I made some fabric flowers using some leftover fabric.

IMG_9272

Searching through my crafting supplies I found some felt and decided to make some small banners with it. I created 3 separate banners but hung them up together.

IMG_9059

IMG_9274

I like the bright colors for spring / summer.

IMG_9273

*On a side note, Sherwin Williams is having a 40% off paint sale this weekend*

**My husband is absolutely delighted with this fact**

***OK, that last thing was a lie. He’s worried, oh so worried.***


A Little Girl Bathroom – Under the Sea

IMG_9065

This is the bathroom that took 3 years to complete – did we do any major repairs? did we take out the tub and sink? Did we redo the floor?

No. No. And no.

We painted, hung a shelf, and made some art.

3 years people. 3 years.

It’s totally my fault, I hit a wall on the project so it just stopped.

Let me explain.

When we started this project my daughter was three and wanted a Little Mermaid themed bathroom. I knew she would quickly grow out of that so I decided on a whimsy ocean theme.

The plan was to make stripes on the back wall alternating between white and light blue.

My sweet husband worked on this for a couple of days.

IMG_2296 When it was finished I liked it but the pencil lines going across the wall really bothered me as did the raised paint lines. I’m normally not so picky but this for some reason really irked me.

As the painting was wrapping up I was laying out random frames we had – soon after I spray painted them bright yellow.

IMG_2332

I used light weight denim material and covered pieces of cardboard which were the sizes of the frames.

IMG_2338

I found some walls decals on etsy and just printed out the pictures from the listing to create an outline of the sea creature I wanted to use.

IMG_2368

IMG_2370

I completed almost all of the art when I came across a problem with the turtle art above – this was the only piece where I used the actual back of the frame to glue the denim to and now the art would not fit back into the frame. I did not have any left over denim fabric since it was left over from another project.

So the project stalled.

For two years.

The stripes stayed and the wall art sat on my bedroom floor.

And there it sat until Christmas time this year and I wanted to get this project -DONE.  I ended up tossing the turtle art and not using him and my husband sanded down the wall and we just put a coat of white paint on the wall. The art wall is white while all the other walls are light blue.

Here’s the final product. I love it.

IMG_9036

IMG_9035

Some of the pieces received a little yellow bow.

IMG_9032

IMG_9033I glued on some yellow rick rack to create jellyfish tentacles and some stripes on the fish.

IMG_9057

Next time, I’ll show you how we (read: my husband) made this mermaid shelving unit.

IMG_9029

And to my husband – Thank you for everything you did to make this bathroom so special for our daughter!


2015 Family Words

Last week I shared our 2014 family words and today I’m going to share with you our 2015 words.

For the canvases last year we used colorful magazine clippings but I decided to try and make it a little different (and easier) this year by just using paint for the undercoating.

I gathered all of the blue and green paints we had and explained that each person was going to choose several colors from this palette and cover their canvas with it.

IMG_8645 IMG_8649

All five of us sat at the table on a cold and rainy morning in our pajamas and painted for an hour.

It was my version of heaven.

IMG_8648It was so interesting to just sit and listen to the kids talk about why they chose their word for the year.

After letting the paint dry, we picked through the stickers we had to create our words and names. I then spray painted the canvases with white paint. Once dry I peeled off the stickers.

IMG_8658IMG_8682 IMG_8659 IMG_8681IMG_8660 IMG_8683


IMG_8661IMG_8684IMG_8662IMG_8680A few days after making our word canvases I said to Caroline would you like to try some cinnamon toast? She gave me this pitiful look and said, “Mooooooommmmmm, when  I said try for my word I didn’t mean to try new foods I meant to try new activities.”

Now keep in mind this kid has eaten cinnamon bread before and loved it.

“You don’t have to eat the whole thing, you could just try it.”

“Maybe later but I just can’t right now.”

She later ate 2 pieces of cinnamon bread and loved every bite. On her own time. When she was ready.

I’m thinking maybe her word for the year should have been “go with the flow,” or “don’t make trouble just for troubles sake, ”  or even, “every once in awhile just agree with your mother.”

But for now she’s sticking with “try” for 2015.

IMG_8674

Do you have a word or a family motto for the year? I’d love to know.

2014 Family Words of the Year & Our Wall of Pictures

Last year was the first year each member of our family came up with a “word” for the year.

The word each person chose was entirely up to them, although I did provide the 4 yr old with some choices.

The idea is that the word is supposed to be one of the things they want to focus on for the year. Kind of along the lines of a resolution.

Our words are hanging on a large corkboard which I found at the Habitat store for $4. I then glued on some left over fabric (burlap with gold circles) and placed our word canvases on there with push pins. I then took pictures we had printed out already and let the kids pin those up.

It’s literally my favorite thing in my house.

IMG_8615

Here’s a close up look at the canvases and how we made them. The idea is based off the same project I saw on Shannan’s blog. We’re not really friends. I just like to pretend we are so I call her by her first name 🙂

IMG_8633

The project starts off with scraps of magazines – the best in my opinion are the Boden catalogs because of the vibrant colors – I spent a couple of nights watching tv and cutting out different patterns and colors.

IMG_3860

Then we hodged podged the heck out of those scraps onto a 9 x 12 canvas.

IMG_3858 IMG_3865

Once Caroline was done, I went back over hers with the hodge podge several times since she was rocking about 4 layers in some parts.

IMG_3866

Once the whole front was covered, we used old science fair sticky letters we already had and placed our words onto the canvas. I then spray painted the canvases (I initially painted my with white acrylic paint but liked the look of the spray paint better) and then peeled off the stickers.

IMG_8632

Can I just stop for one minute and say that this kid “DID” 2014.

KJMP_McEachern_20141013_0282Signed up for the Geography Bee all on his own, finished the school year with awesome grades, made the school band he wanted to, became a leader on his soccer team, made the state meet in summer swimming, made the region band, joined the school pentathlon team all on his own, ran for the cross country school team, and so much more!

Middle school really agrees with him. So proud.

IMG_8631

IMG_8630

IMG_8629

It’s funny how you start out the year thinking your word will mean one thing and it really ends up meaning something else. I thought my word would mean to find the courage to travel to Ethiopia but what it really meant was to find the courage to be around those who could add to their families. With each person who told me they were pregnant the pain of our loss really struck home again. While happy for them I found it just brought out sadness for me.

Courage for me this year was finally visiting my sister who had a new baby and experiencing that joy with her. I went back and forth and back and forth about making plane reservations but what I kept coming back to was my word for the year: courage.

I could do it. I needed to do it. So I did it. And it was wonderful.

IMG_8621

Next week I will share with you our 2015 words.

It should be interesting to see what path those words take us on.

The – Shrek the Musical – Party

For my daughter’s 5th birthday party she decided on a “Shrek the Musical,” party. We found this musical on Netflix and she feel in love with it, watching it probably 20 times.

3652357

In my opinion, this musical is FAB.U.LOUS! Go and put it on your netflix list right now!

For days after we watch it, I’ll hear my family humming the tunes or sometimes they bust out with the words. Alright, I’ll admit it, I sing and dance around the house to it as well.

tumblr_inline_myuy5gVESj1qijfuq

A Shrek the Musical 5th Birthday Party. Hmmm…I put my thinking cap on and came up with what I think was a pretty fun party. So here’s the party recap:

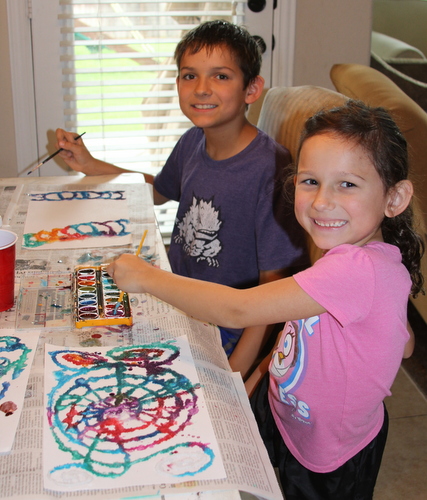
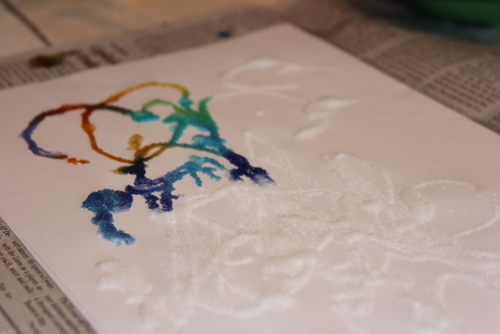
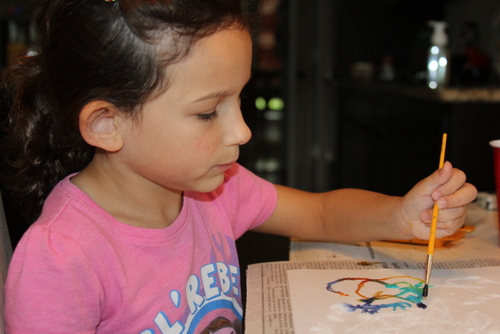
Caroline greeted her guests outside with some sidewalk chalk paint. Using cornstarch, water, and food coloring I used this recipe to make the paint.

IMG_4144

After everyone had arrived at the party, we went inside to watch our first clip of the movie which was the opening scene introducing Shrek. After watching the movie for about 8 -10 minutes we stopped and played, Stinky Shrek, our own version of hot potato. Several years ago my mom gave us a hot potato game with a built in beeper. I simply covered the hot potato in green fabric and we played Stinky Shrek – last person with the Stinky Shrek (hot potato) was the winner.

IMG_4148

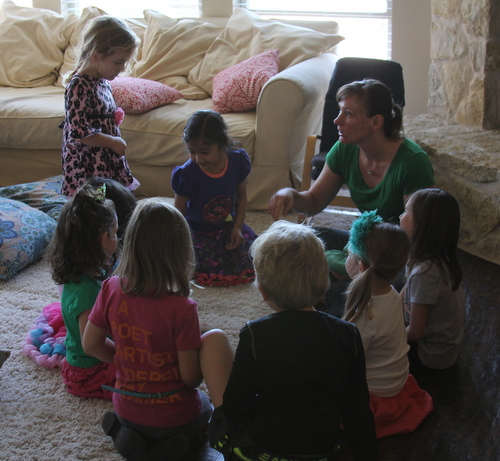
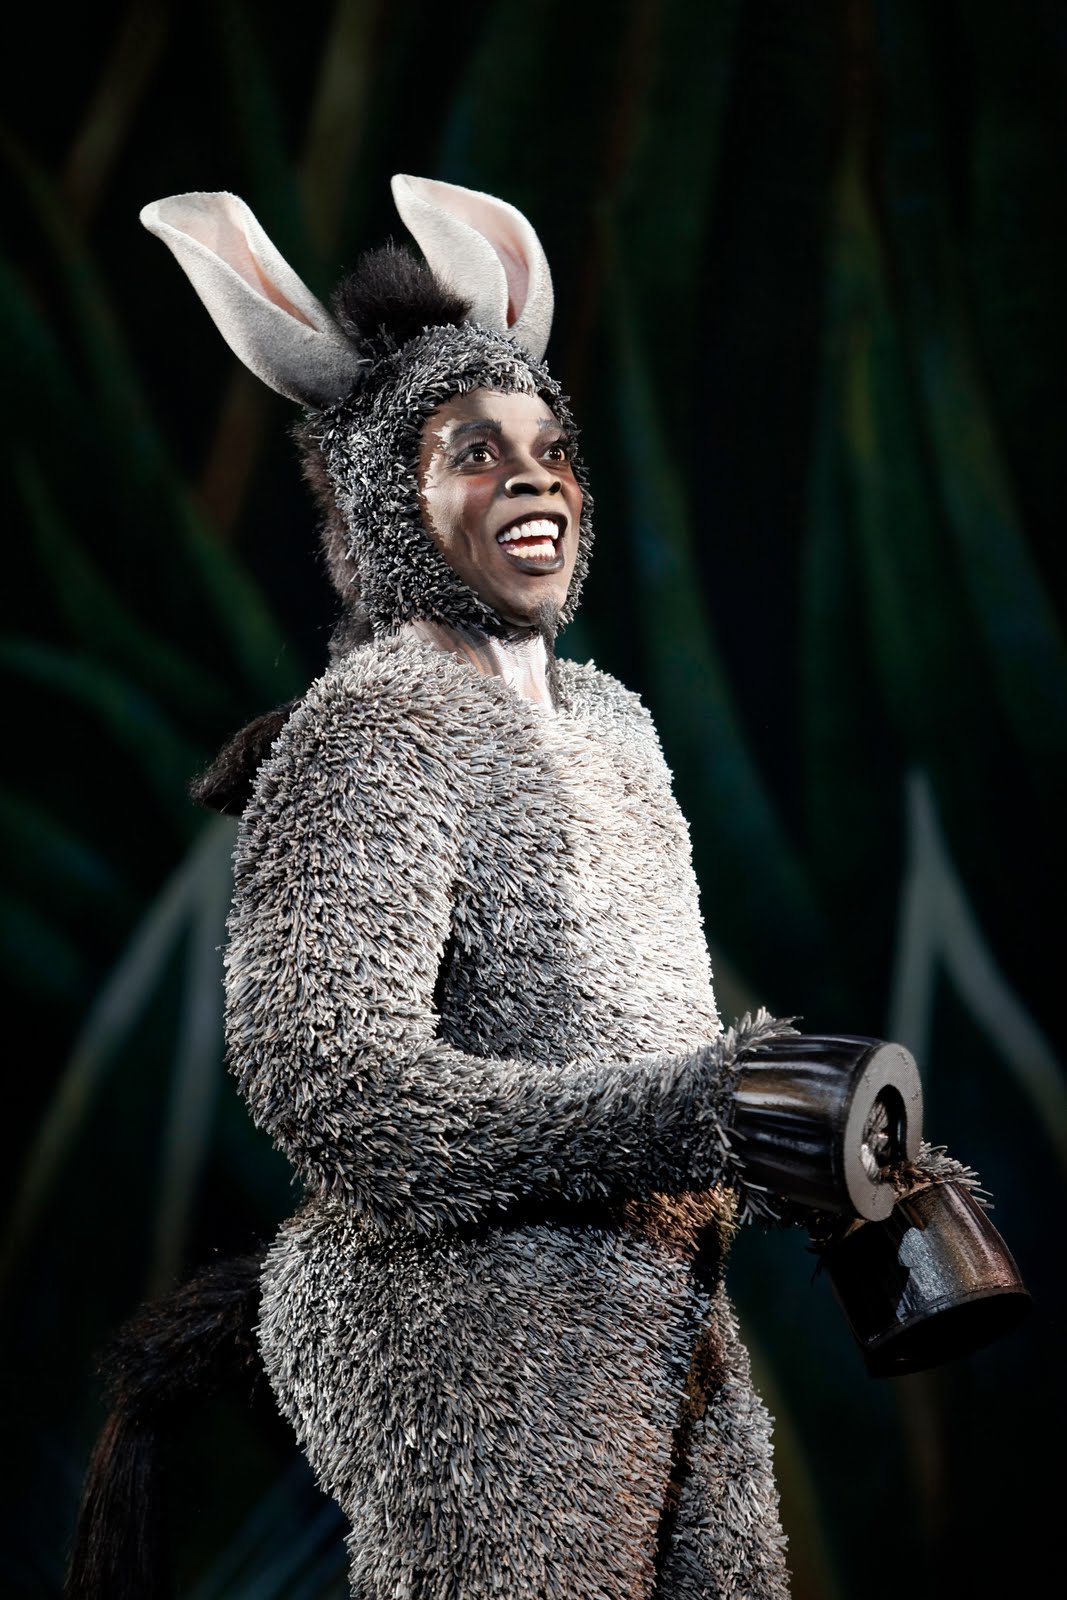
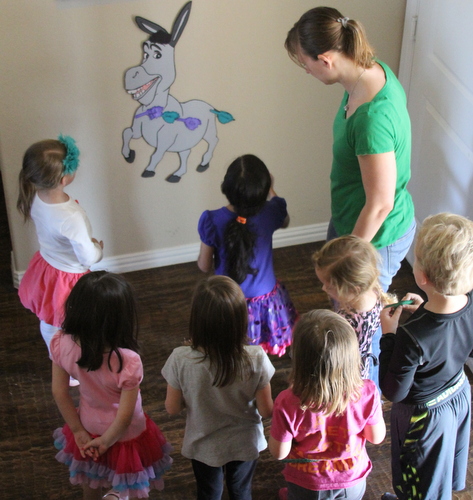
We then watched another clip of the musical which introduces the donkey.

Shrek_the_Musical_Donkey

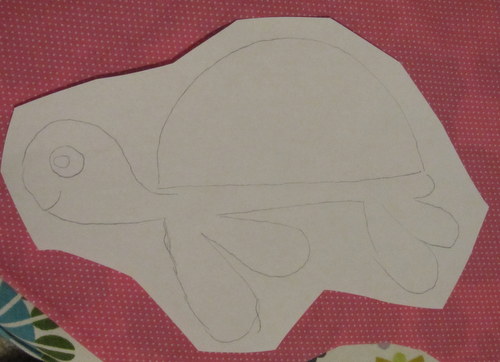
After the clip we played – Pin the Tail on the donkey – a classic birthday game. I once again used our tracer and made the donkey out of construction paper.

IMG_4150

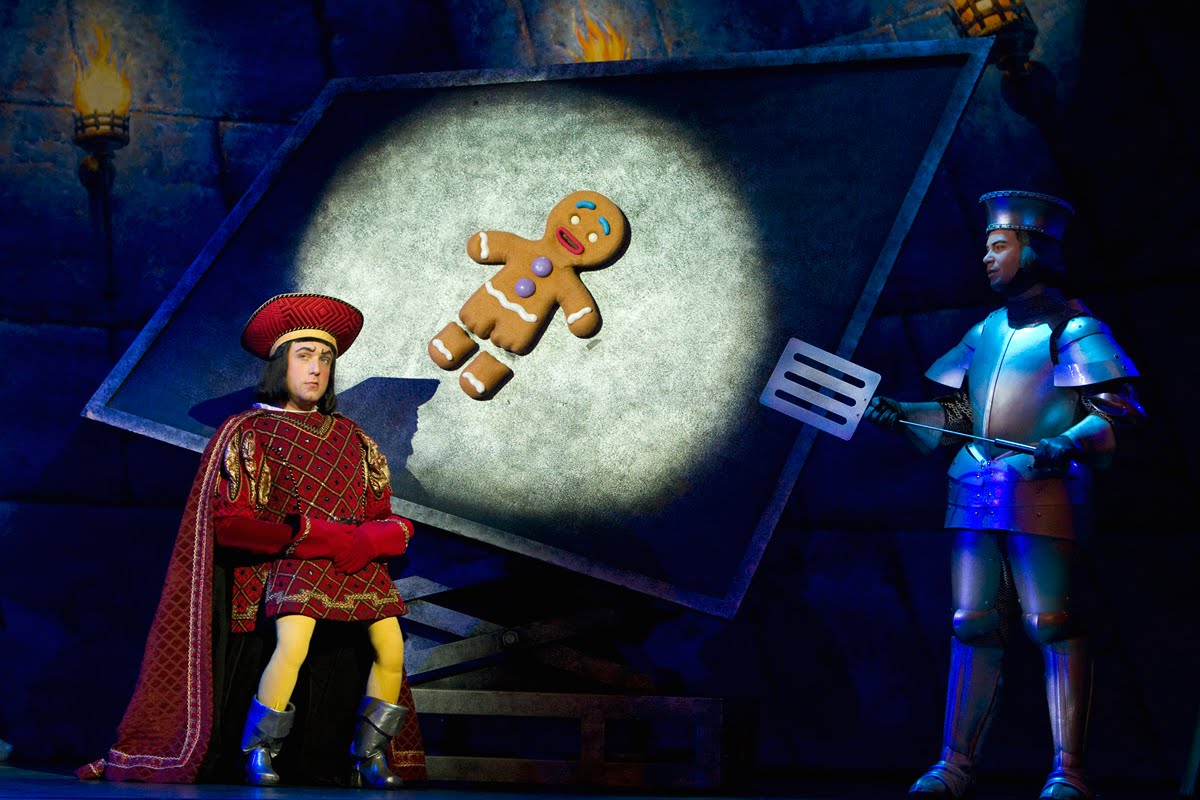
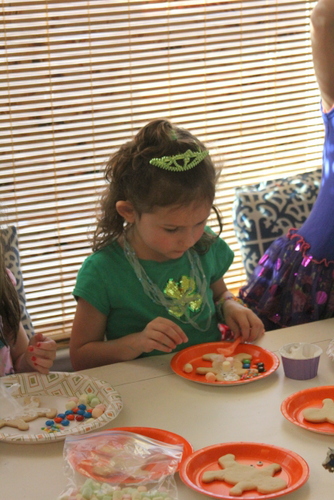
Next was a clip which introduced the gingerbread man and Lord Farquaad.

gingy

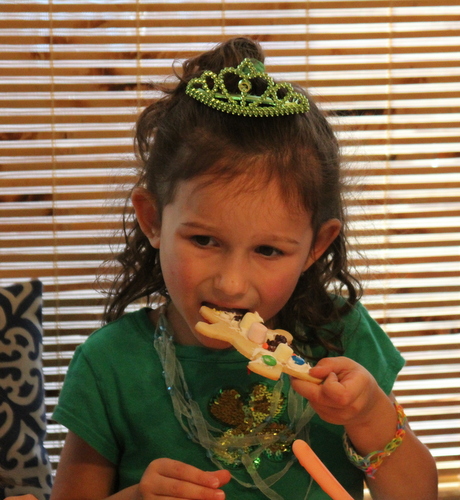
Since I had enough to do to get ready for this party, I paid a friend who was just starting up a baking business to make sugar cookie gingerbread men for me. The kids enjoyed decorating their gingerbread men with frosting and candy. I had little baggies for the kids to take the gingerbread men home in but that did not work out since everyone wanted to eat their creation immediately.

IMG_4155

IMG_4162

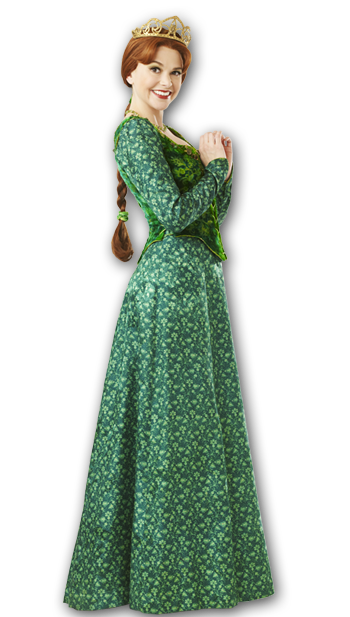
Next up was the musical scene which introduced Princess Fiona. Sutton Foster plays Fiona in the Netflix musical and she is just outstanding. She was nominated for a Tony for this role.

Princess_Fiona_Musical_Human

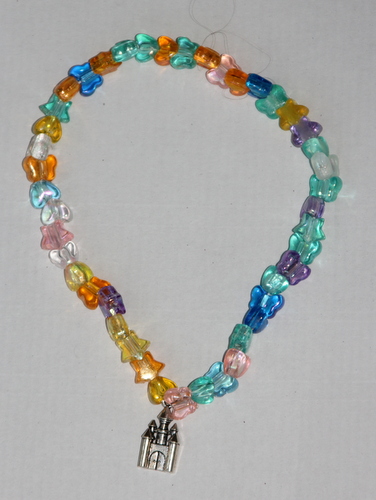
To celebrate being a Princess like Fiona the girls made princess necklaces. The necklaces were plastic beads with large holes through the center. I also gave the girls a castle charm that they could place somewhere on their necklace. Since this party was for 4, 5, and 6 yr. olds I thought using a needle and stretchy thread might be a little difficult for them so I glued (using a glue gun) the needle to the piece of thread so the needle couldn’t fall off. I then glued a piece of fabric at the end of the thread so that the plastic beads wouldn’t come off on the other side. The girls really enjoyed making their necklaces. It was fun to see some of the girls where their necklaces to school the next week.

IMG_4172

IMG_7489

The last musical scene the girls watched was Princess Fiona tap dancing with the Pied Piper’s rats.

shrekfionachoreoglgsherk1

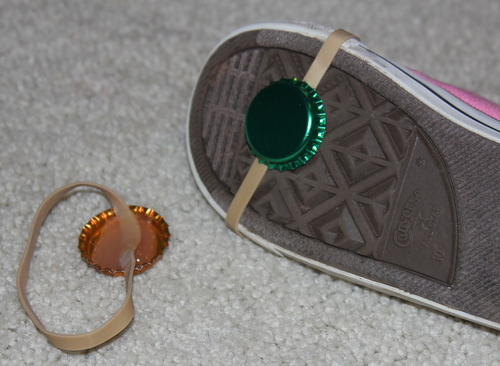
I decided to make tap shoes for the girls – the cheap way! I bought bottle caps at Hobby Lobby and glued (with a glue gun) them to a rubber band. I placed the hot glue in the bottom section of the bottle caps. The “tap shoes” were easy to put on since they just slipped right over their shoes.

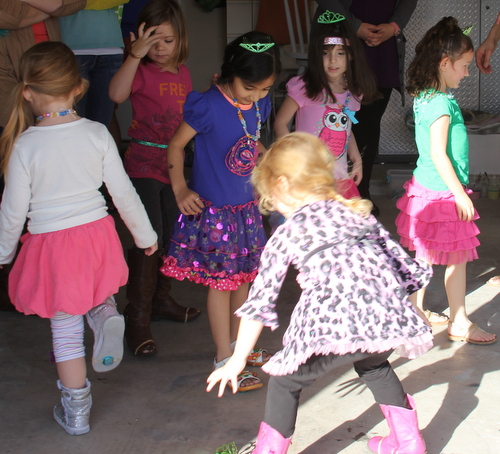
At this time the girls also received their green  Princess Fiona crown – the same one Caroline had been sporting the whole party.

IMG_7503

The girls “tapping” like Princess Fiona in our garage.

IMG_4176

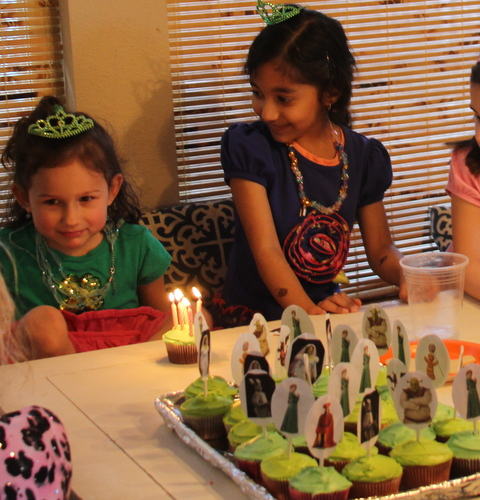
Last up on the party agenda were cupcakes with Shrek character toppers. Normally I try and make a character cake for birthday but Caroline requested cupcakes so cupcakes it was. She helped me choose the characters she wanted on the toppers and we printed them right out.

IMG_4183

So that’s it.

A “Shrek the Musical Birthday” party for my daughter’s 5th birthday.

I think I enjoyed planning it as much as she enjoyed sharing it with her friends.

And seriously, go watch this musical, it’s terrific!

Halloween Pillows Made by Kids

I was walking through the store the other day when I found orange polka dot napkins on clearance. I decided to pick up a few since I thought they would make some fun Halloween pillows.

My 5 yr old and 9 yr old decided on Halloween silhouettes they wanted to paint onto the fabric. We then used the tracer to transfer the image onto the pillow. My son used a Sharpie which promptly bled through the think material onto the wall – yay!

IMG_7315

IMG_7316

My 9 yr old then painted his image with fabric paint staying inside the lines as best he could. For the 5 yr old, I decided to place blue painter’s tape around the image to help her.

IMG_7319

IMG_7321

I was planning on keeping the pillows in their original square shape but then realized they would have been huge. So we decided to cut around the shape, leaving room to sew the edges.

IMG_7417

IMG_7421

IMG_7423

They chose to use a Halloween fabric we already had for the back of the pillow.

IMG_7426

After they sewed around the edges, stuffed the pillows, and closed the last opening we were done!

IMG_7466

Now here’s the thing. These will never make the cover of House Beautiful or any decorating site but my kids loved making them and love seeing them on the sofa. Every time they walk by the pillows they try and fluff them or stand them upright. and you can just see their sense of pride.

IMG_7467

IMG_7468

IMG_7469

But here’s actually my favorite part of this whole project…

IMG_7470

…their names written in permanent marker. Nothing sweeter than little kid handwriting.

IMG_7471

IMG_7464

Happy Halloween!

She is Fierce: Bedroom Art

Anyone who knows my four year old knows that she has a mind of her own.

I present to you one of her latest self chosen preschool outfits as a small piece of evidence.

IMG_3903

So when I came across the Shakespeare quote, “And though she be but little, she is fierce,” I knew it described Caroline and it would be perfect somewhere in her room.

One day while the boys were at school Caroline and I made this sign:

IMG_4130-001

Here’s how we made it:

We found a board in the garage that was roughly 1 1/2 ft by 3 1/2 feet and gathered some paints. Since this is going in her “rainbow room” we grabbed an assortment of colors.

IMG_3953

We then slapped on some color with the foam brushes, pausing after each color to dry the paint with the hair dryer.

IMG_3956

IMG_3954

“Please don’t touch the hair dryer it’s hot.”

IMG_3957

Aaaaaand we touch it anyway.

IMG_3958

I’m thinking maybe I should make another sign that says, “And though she has good hearing, she chooses to ignore most of what her momma says.”

After we had covered the entire board with bright colors I took some gold paint and randomly placed it on the board and completely around the edges.

IMG_3961

IMG_3962

I then found some leftover vinyl letters that we used on science fair boards several years ago and fashioned them into the letters we needed. I cut the letters and number below to create “she.”

IMG_3969

Once all of the letters are arranged the way you would like them, peel the stickers off and place them onto your board.

IMG_3967

IMG_3970

For the last step, I spray painted the entire sign white. Once the sign is dry, peel off the letters to discover the fun design underneath.

IMG_3974

IMG_3979

The sign is now sitting on Caroline’s bed frame waiting to be hung up

IMG_4130Describes her perfectly.

Man I love that kid.


Independent. Spirited. FIERCE.

A Colorful Bedroom Wreath

My name is Jennifer and I am a craft materials hoarder.

IMG_3989

When you are a craft materials hoarder it’s easy to say, “This project didn’t cost me anything.”

At least that’s what I tell my husband.

He is well aware that at some point in the past five years we’ve paid for these materials but he chooses to go along with my “free projects.”

I’m pretty sure we’ve found the key to a successful marriage.

IMG_3936

Not sure where I accumulated all of these materials from but I’m thankful I did.

Wrap a wreath in fabric strips and secure with glue gun.

IMG_3985

Make rosette flowers with fabric scraps.

IMG_3986

Make felt flowers with felt leftovers.

Have a few extra buttons lying around?

Go crazy and glue them on.

IMG_3987

Arrange and rearrange until you get it just right.

IMG_3988

Then use that glue gun very liberally.

IMG_3990

Free decorative wreath for my daughter’s bedroom.

IMG_3989

Score one for craft material hoarders everywhere!