Halloween Party Boards

Today I am sharing with you Party Boards I made for our Halloween party. These boards make great photo ops and the kids just love them, especially when the adults participate.


Here are the supplies you will need: wooden board, paint, tracer (although you could free hand it), chunky blocks
, and a photo of the image you want to create on your board.

Place the image under your tracer and use as much of the space as possible.

I used a red sharpie here to trace my lines but a black one would be even better. You will cover up your lines with paint in the next step.

Paint the sections of the image with your desired colors. For this Super Girl board I used paints I already had in my stash.

Once the entire piece is colored you will question whether the end product will turn out well. Do not worry. Forge ahead with your black paint pen or thick Sharpie. This tool will make all the difference in the world.

Cut two large blocks for legs and cut slits into their middles.

The large board then slides into the ground blocks in order for the structure to stand.

Cut out a hole for the face and you are ready to party!

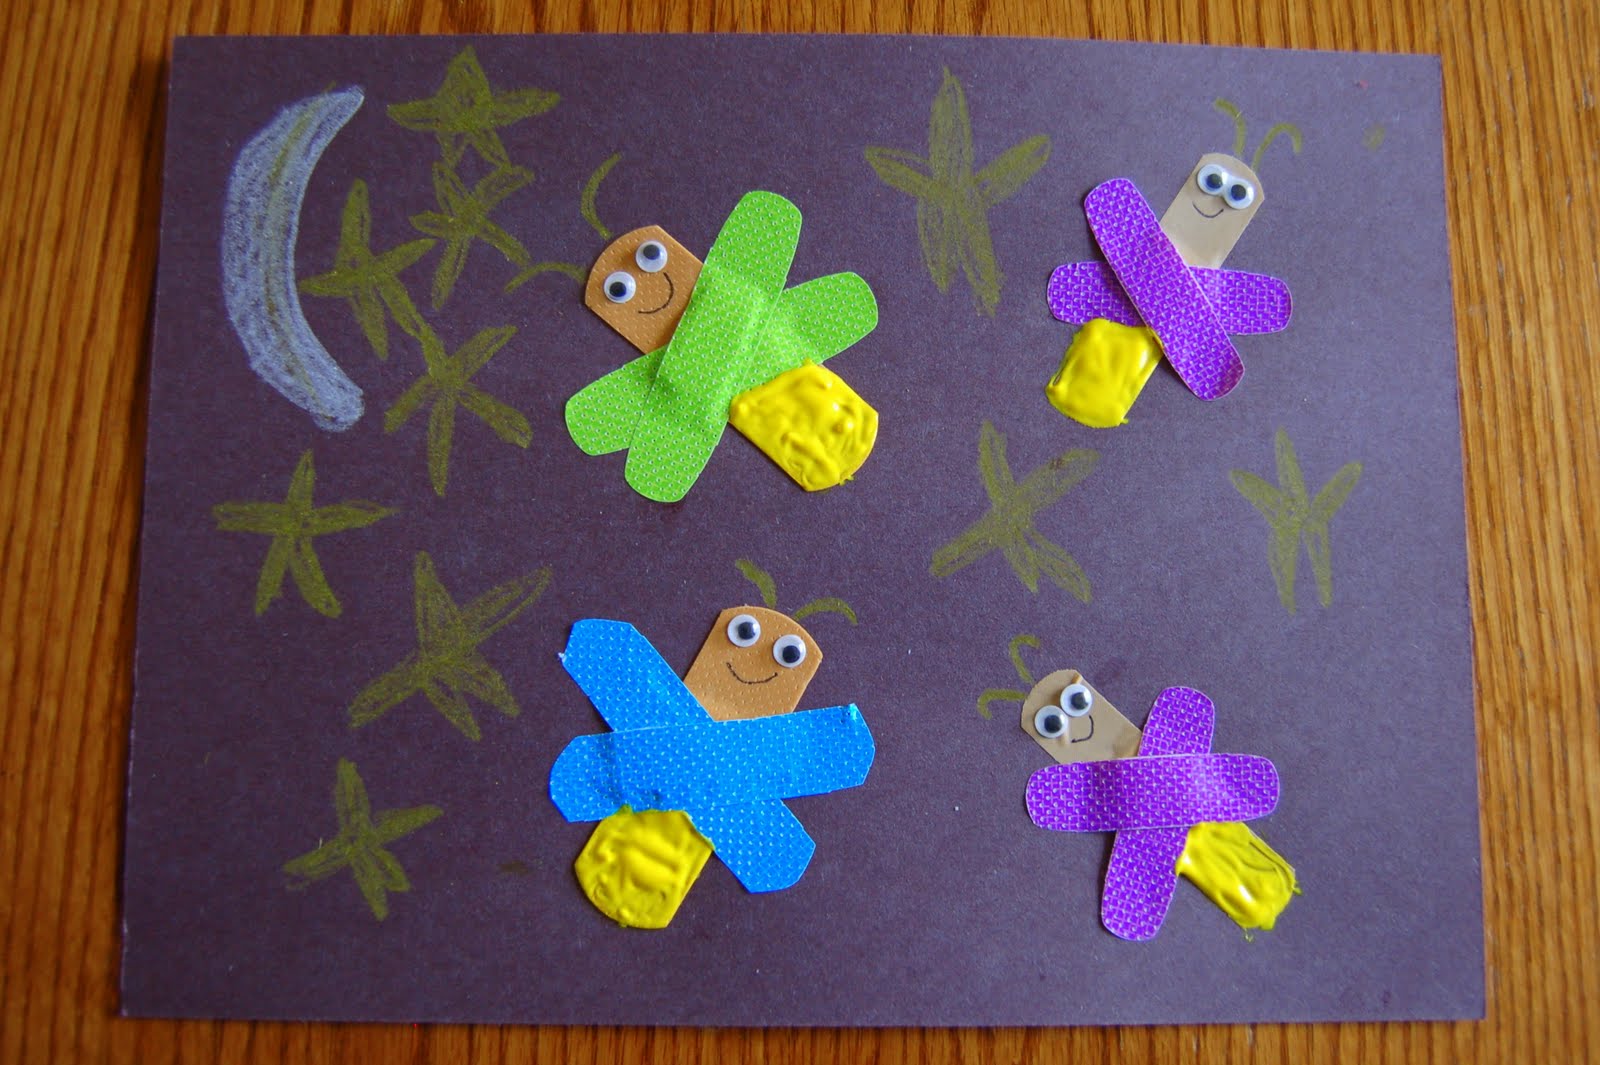
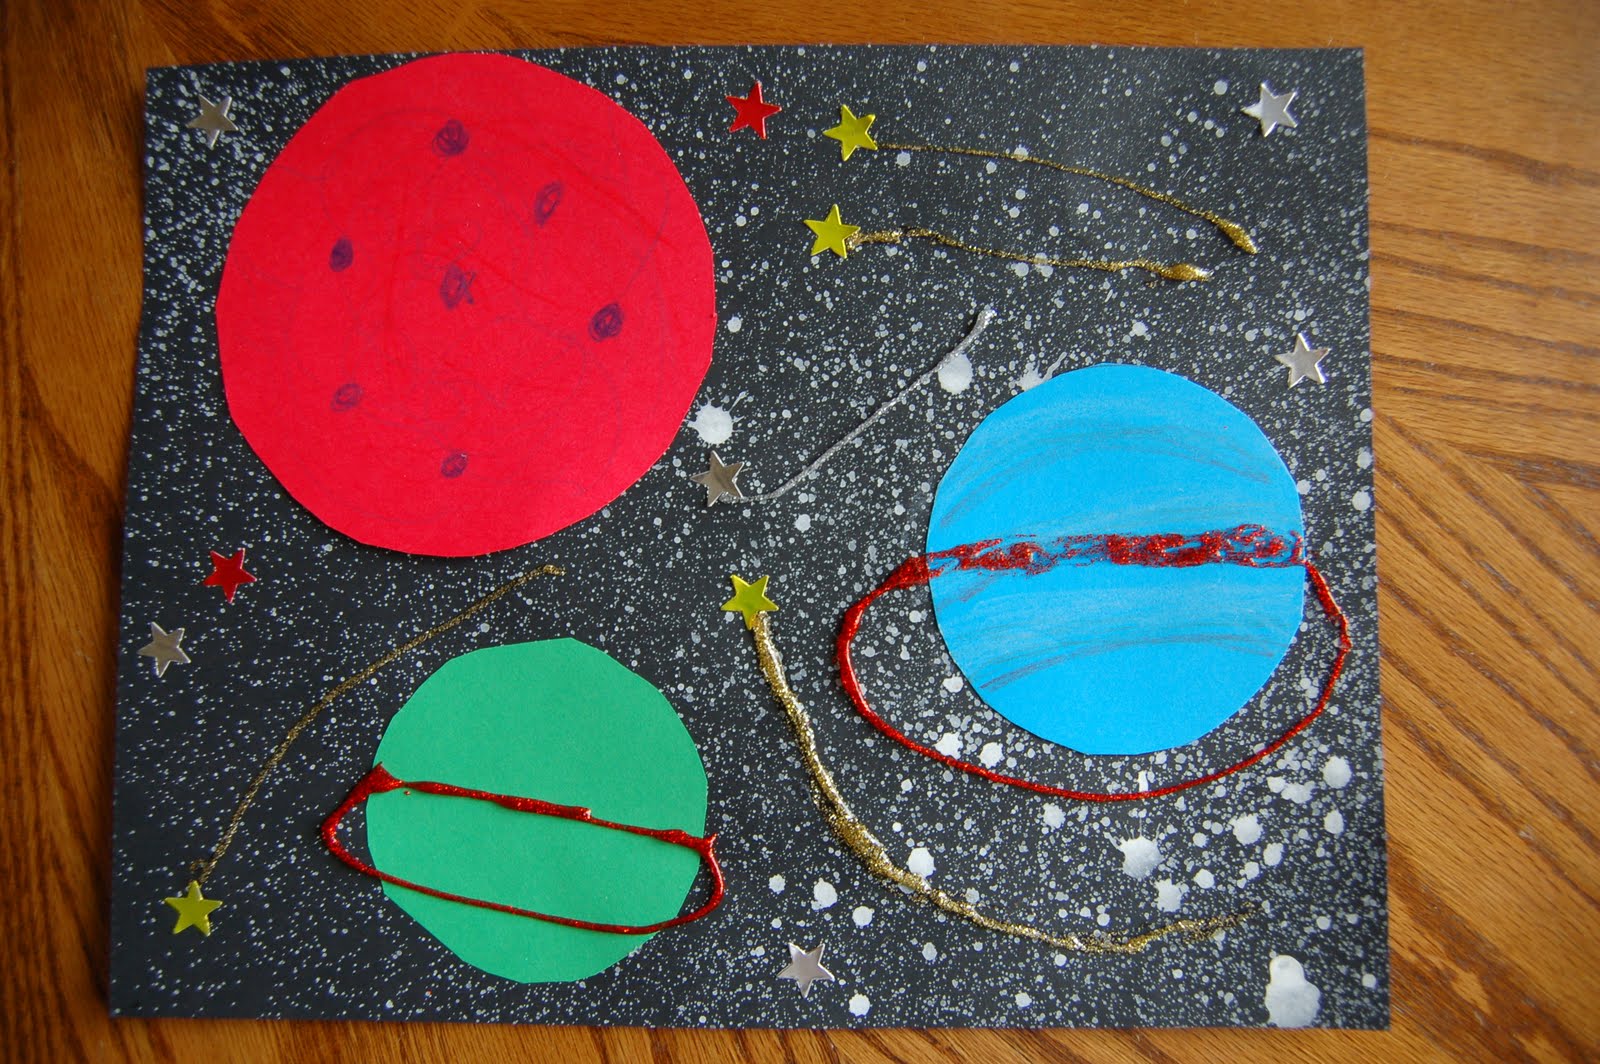
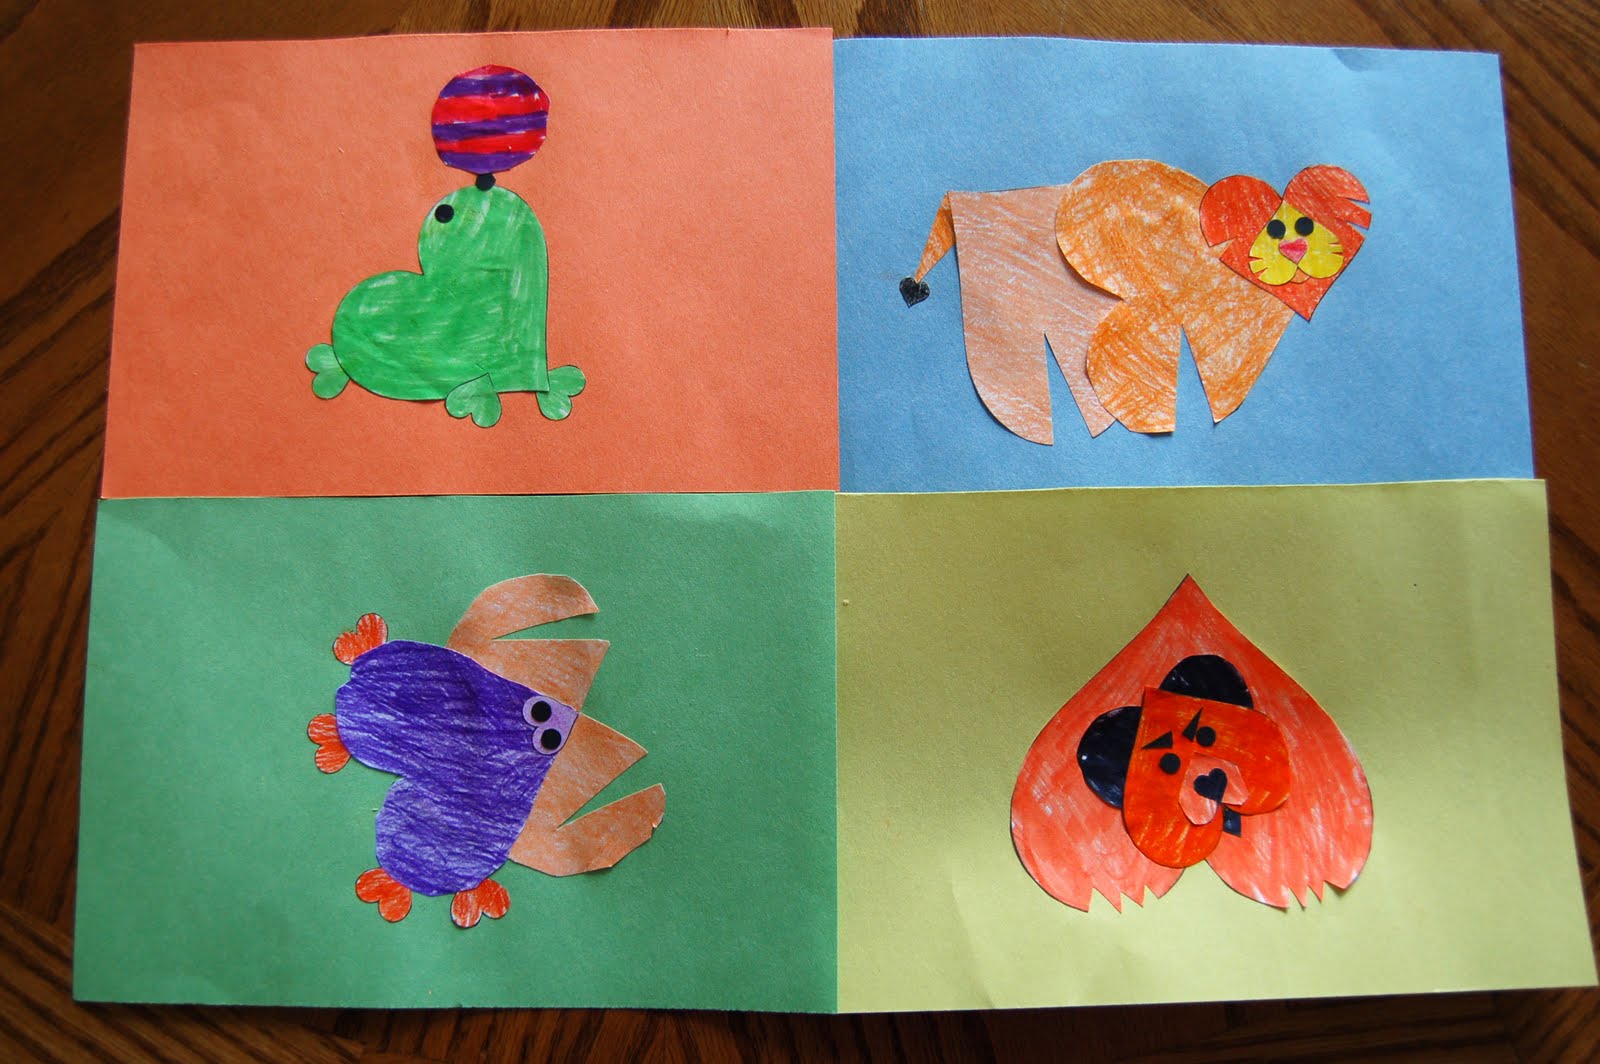
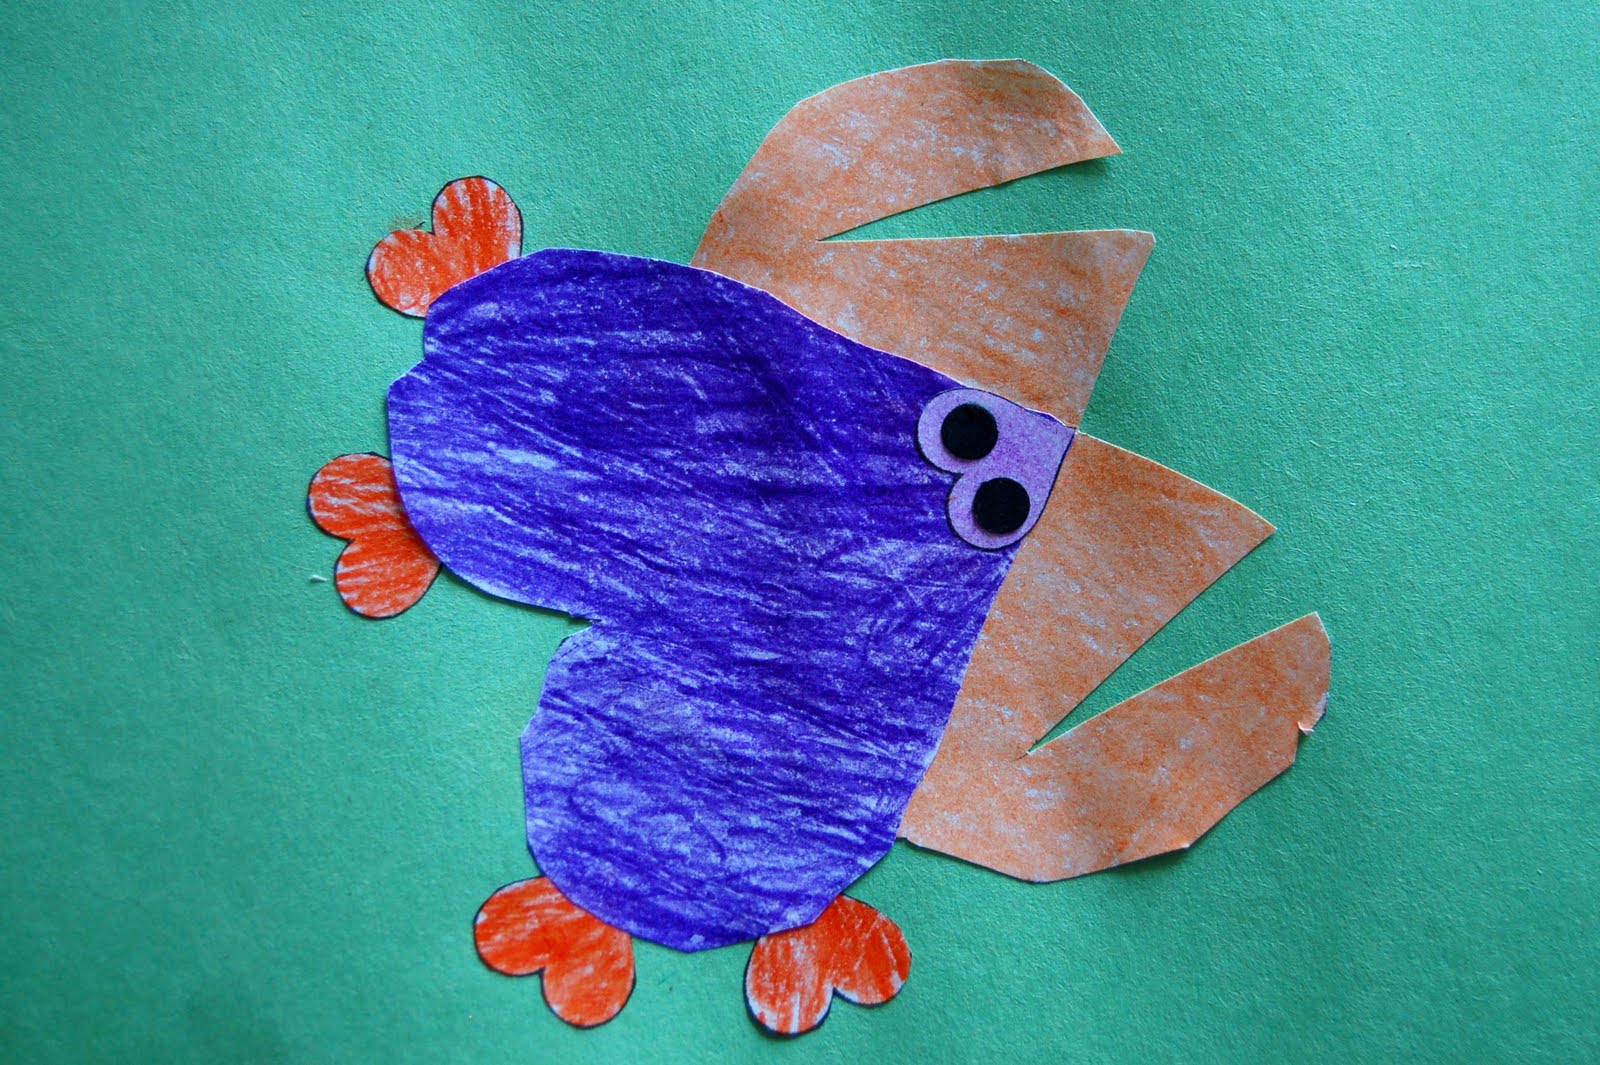
Here are some other party boards we have made for parties.

Have fun creating your own party boards!

Remember to enter the GIVEAWAY for a free personalized Christmas card design – ends Friday

Becolorful Remodelaholic

Pennant Bunting

These are the windows in our office / playroom/ game room. They looked a little bare so I decided to spruce them up.

So here’s what I came up with:

The bunting has some pops of turquoise in it which matches with other bits of turquoise in the room.

I chose to use fabrics I had in my stash and stayed in the blue and orange families. After ironing the fabric I was ready to cut out my triangles.

I am an impatient crafter so I wanted to make this banner as quick as possible. I initially used a piece of cardboard that I had cut into a long triangle. FAILURE – this did not work. I cannot eyeball a triangle. I kept snipping away at it, after every few triangles I cut, and finally decided I needed a new plan.

I marched upstairs to my computer, printed out this triangle on card stock, and cut it out. My new template worked great.

Her’s a sampling on my fabric pieces. This picture is actually from the first few triangles which are not shaped like I wanted.

Roughly every six inches I pinned triangles to a long pieces of think white trim.

I then sewed two simple straight (ok, curvy) lines across the top and bottom of the trim.

Simply hung it with push pins after.

I love this so much that I’m thinking of all the places I could place pennant buntings in my house…Caroline’s room, on the stairs, a Christmas bunting, a birthday bunting, ……gotta go cut some triangles.

Halloween Mantle Part 2

This is the second part of our mantle how-tos. If you would like to see part one, go here.

FYI – I don’t feel too well and my daughter didn’t nap this afternoon so this will be short and sweet. I’m sure I will be back and wordy soon.

On Monday I shared how I made the spooky books, the branches and bats, and the banner. Part one includes a free printable of the banner.

Today we’re going to start off with the glittered skull.

I saw several versions of the glittered skull in stores but couldn’t decide which one I liked best so I waited until inspiration struck.

While browsing the Habitat for Humanity store I found two candlesticks, each for $1.00. When I saw them I instantly knew they were perfect for my skull project.

I also bought a foam skull from the craft store for $3.50 (with coupon). Sliver glitter is shown but I also mixed it with equal parts orange glitter once I started. And any good crafting project always uses Mod Podge.

First step: Brush some mod podge onto the skull – I found it best to cover about a quarter of the skull at a time.

Pour glitter over the mod podge.

Once the entire skull is covered with glitter and completely dry spray with surface sealer (found at craft store).

Hot glue the skull to the never touched perfect as is when bought candlesticks. Told you I wouldn’t be wordy.

My two completed glitter skulls sit on the extreme left and right of the mantle. Smaller versions of these skulls would also be fun to attach to a Halloween wreath.

Next up, the Three Witches  stamp art in the large frame.

As with the branches, I needed some height in the middle of the display so I used a frame I had stored in my closet. The skeleton directly in front of the frame was from a candle party I went to a long time ago.

I contemplated writing the “Three Witches” but decided against it because I was worried I would slant the ends of each sentence if I used a marker. In reality using the stamps presented the same problem. I did end up slanting a bit but I think it looks fine.

I took out my stamps from when I taught in the classroom and went to work late one night. It’s really a simple project but I think the variations in ink make the paper look a little old. This stamping turned out really well when I used it in a Thanksgiving display too.

I created a printable of the same scene which you can download here.


So I think that covers the mantle and the how to’s.

(The large spider web on the left is actually an outdoor light I bought on clearance a few years ago. The “31” is just a quick print out and framed. The haunted house is from a store in Wisconsin which I bought last year during a sisters weekend. The splashes of purple are Mardi Gras beads placed in flower jars.)

So in the end I was a tad wordy.

I’ll leave you with a quick Halloween joke. Enjoy.

Why was the skeleton afraid to cross the road?
It had no guts…:)

Weekend Bloggy Reading

Halloween Mantle with a Halloween Printable

After much pleading by our six year old, we made the trek upstairs to dig our Halloween decorations out of the storage closet. The kids spent many happy hours playing with plastic spiders and assembling a mini skeleton. I was overjoyed that I was able to have our house decorations up  in a little over an hour.

Here’s our Halloween mantle:

Today I will share with you three of the elements of the mantle – the bats & branches, the books, and the banner. Plus I have a printable, so keep reading.

First up, the bats and branches.

My challenge for the mantle each time I decorate it is to add height to the decorations. Our ceilings in this room are two stories tall so I try and have our display be on the same large scale.

The spray painted branches were used in previous holiday mantles. During Christmas they held ornaments while during Valentine’s they held hearts. Tuesday To Do Party

The bats were cut out of black construction paper last Halloween but were never used for a project so I thought they would be perfect taped to the trees.

The spooky books are simply books covered in white paper and taped together. It was frightening how many gorey words my two oldest could come up with in when faced with the task of creating titles for these books. I insisted we tone it down for the display.

Last year I created the “Trick or Treat” banner by cutting out orange triangles, pasting white circles with letters on it, and adding stickers for the symbols. After I modge podged it, poked holes in it and strung it by a ribbon, it was finally completed. Frankly, tons of work.

I wanted to create a printable for you and figured this would be easy to recreate. In fact, it was so easy, I’m going to create all my banners this way. 

The printable I created for you consist of 12 separate Halloween symbol triangles and 8 separate triangles with letters which will spell out “trick or treat“. You will need to print out the letters t and r multiple times.


I printed out the symbols on card stock, cut holes on the sides, and attached with string.

Here are five triangles which were chosen by my six year old to display by our entrance.  (Uhhh,yes…dirty mirror alert.)

If you’d like the Trick or Treat banner printable please click here.

*Please consider becoming a follower of Big D & Me if you decide to print the banner*

Wednesday I will share with you how I made the large Macbeth sign and the glittered skulls.

Do you have any favorite Halloween decorations in your home this year?

Making Todays Creative Blog Weekend Bloggy Reading

It’s a Giveaway from Graphic Anthology!

Do you remember this print from my kitchen art wall?

This print was the first piece I bought for my art wall and it set the standard with its vibrant color scheme and bold look.

Well, guess what?

This print can be yours!

Genesis from Graphic Anthology is giving away one of her prints on Big D & Me!

I am beyond excited because I love so many of her prints.

In fact, I want all of these prints in my house and know exactly where I would put them.

For my master bedroom:

For my daughter’s room:

For a family wall of inspiration I am beginning soon:

Graphic Anthology is giving away one A3 size print which is a $20 value to one winner.

The winner of the giveaway can pick any item in the Graphic Anthology shop which is an A3.

What if I don’t win? What if I can’t wait for such a fun print for my house?

Genesis has graciously offered Big D & Me readers a 20% coupon to use in her shop for any item(s) of their choosing. Simply use the coupon code CBKISSES when you check out.

How do you win?

Each person may enter up to 2 times in the giveaway.

Please leave a separate comment for each entry.

1. Visit Graphic Anthology and leave a comment here about your favorite print.

2. Be or become a follower of Big D & Me and leave me a comment stating you’re a follower.

This giveaway closes Thursday September 15th at 10 pm.

The winner will be announced Friday September 16th.

Good luck to each of you and remember…

THIS GIVEAWAY IS NOW CLOSED!

I Heart Craft Things – Guest Post

Today I have a blogger here who you must meet if you have kids. Rachel, the mom behind I Heart Crafty Things, does activities with her kids which truly inspire me to do more with my children. Most of Rachel’s activities revolve around children’s literature and corresponding learning projects. (I decided to say learning projects instead of art projects since following directions, cutting, and tracing are all such important skills for little ones to learn.) Some of my favorite I Heart Crafty Things posts are Paper Plate Pirates, Red Light, Green Light Activities (wonderful beginning math concepts in this post), and the Piggy Snacks . So without furth ado…here’s Rachel.


Hi, I’m Rachel from I Heart Crafty Things. I discovered Big D & Me about a month ago and after reading about her recent Boot Camp experience, I knew she was my kind of gal. Her sense of humor is just what a stay at home Mom of 3 needs to help keep me sane on those unbearable days! That is why I was sooooo excited when Jennifer asked me to guest post.

After having my first child, I found myself in this “Oh my gosh, I have no talents or interests in my life” kind of slump, and quickly discovered an unfounded passion within myself for children’s literature and crafting. I can honestly say that over the years it is what has kept me sane and happy as a Mother. I was not a creative or imaginative child at all, and being able to instill some of that into my children has made me a really proud Mommy. Over at I Heart Crafty Things you will read about fun children’s crafts coupled with children’s books. Like when we created these Band-Aid Fireflies to go along with “The Very Lonely Firefly” by Eric Carle.

or our Eric Carle inspired Very Hungry Caterpillar’s

I also try to keep things fun for my First Grader too with projects like this “Out of this World” Craft.

This past week I’ve been reviewing shapes with my Preschooler. We read the fun book “My Heart is like a Zoo” by Michael Hall.

It is a fabulous children’s story where the author creates animals out of heart shapes. Each page displays a different animal with descriptions that include feelings like “snappy as a crab” and “angry as a bear”. Reading this story was a great opportunity to talk about feelings, but also to review one of our shapes, the heart.

Going through every page in the story we tried to count how many hearts were used to create each animal and then we picked which one was our very favorite animal at the end of the story. The back of the story the author shows how to create the lion animal and I thought, “Hey, we can totally do that!” So using my book as a guide, I printed off several different sized hearts to create some of the animals we found in the book.

After printing off the hearts, we colored and cut them all out. I was in charge of cutting out all the tiny hearts. I knew the little hands would have a hard time with those. Then we took a brief recess as I attended to my cute baby girl (who has morning hair haha) who secretly got a hold of an orange marker and pretty much had the time of her life…

Then we picked out some colorful construction paper to glue our hearts on (I cut sheets of construction paper in half because we didn’t need the whole sheet).

I did a little bit of cutting on some of the hearts, using the book as my guide.

The kids got busy putting glue on all the hearts.

And we placed them on our paper to create some super fun animals all out of hearts. We used black circles made from a hole punch for our eyes.

Meet our silly seal (my personal favorite)…
Our Snappy Crab…
Mr. Angry Bear…
And our very Brave and totally disproportionate Lion (hahaha, hey, the kids didn’t notice!)…
So what are you waiting for?? Go get crafting with your kids! But wait, first come over to I Heart Crafty Things to say hello!  🙂

The Kitchen Art Wall Reveal…Finally

Our kitchen art wall has been a long time in coming. I searched and searched etsy for just the right art. I chose pieces which were fun, bright, and made me smile. I made six printables for the wall as well.

Last time I left you I had given you this sneak peek at our wall

Here’s the completed wall

I am so excited with how it came out.

The five small frames are from Target, 2 others are from IKEA, 2 frames I already had, and 2 are from Goodwill. The frames I already owned and the ones from Goodwill were given a couple of coats of white paint.

Let me show you how we chose where to place the frames.

I knew I was working with an 44 x 44 space on the wall so my husband and I made a 44 x 44 template out of newspapers taped together.

Next we moved around the frames until we were happy with their placement

There is a wide variety of color in the pictures so I decided white frames would help give a cohesive look.

Where did those wonderful pieces of art come from you ask?

Clicking on the links below will direct you to the etsy shops or to my post with the free printables.

You are the Pancakes to My Syrup – Williston Letter Co

Olive You – free printable Big D & Me

Super Dean with Hamburger (made from individual pieces of paper) – Greenbean Art

Eat, Drink, and Be Merry – Graphic Anthology

If You Want Breakfast in Bed, Sleep in the Kitchen – free printable Big D & Me

Baby You Spin Me Right Round – Oh, Dear Molly

You Are My Hot Pot – Oh, Dear Molly

You Can’t Buy Happiness But You Can Buy Ice Cream & that’s Kind of the Same Thing – free printable Big D & Me

Hey Yogurt, If You’re so Cultured Why Do I Never See You at the Opera? – free printable Big D & Me

Lettuce Turnip the Beet (Let Us Turn Up the Beat) – free printable Big D & Me

Give Thanks – free printable Big D & Me

So that’s it. Our kitchen wall is finished.

Except that I want to change a few colors on the printables.

Maybe add another frame.

No. No. No. For now it’s done and I’m pleased it’s done.

Now onto our next big project.

Hmmm, my husbands not smiling.

I, for the life of me, can’t understand why.


Tuesday To Do Party Todays Creative BlogChic on a Shoestring Decorating Weekend Bloggy Reading

Kitchen Printables

This post was first published when I guest posted on Darling Doodles.

Today I am sharing with you three printables I made for our kitchen gallery wall.

Before I show you these prints I want you to understand that the art on my kitchen wall is on the cheesey groan inducing side. (I can hear the accolades now – “Yeah, she made us cheesey printables”). I would like to have some grown up sentimental art but it’s just not me. Instead I have prints I have bought which say, “You Are My Hot Pot,” and “You are the Syrup to my Pancakes.”

So ready or not consider yourself warned. If you are looking for Pottery Barn, you’ve come to the wrong place.

My first printable is a 4 x 6 message  – I think it speaks for itself.

My second printable is a 5 x 7 print. When I found this saying I knew it was meant for my family.

The third print is another 5 x 7 with a sweet little message but one that I always insist on exaggerating, “I luuuuurvvve you.”

Olive YouHere’s a peek at my kitchen gallery wall.

Hop on over to Big D & Me where I will soon be revealing the kitchen art wall and sharing where the other art work is from (hint: Etsy!)

Update: Here are three more kitchen printables

Give Thanks

Lettuce Turnip the Beet (Let Us Turn Up the Beat)

Cultured Yogurt


Click on the printables pictures in order to download a copy for yourself

If you decide to download a picture, please consider becoming a Big D & Me follower

Go here for the art wall revealed

Tuesday To Do Party Todays Creative BlogChic on a Shoestring Decorating Weekend Bloggy Reading

Ooh Moon Contest!

Katie over at OohMoon is having a contest and you need to enter!

Remember when I introduced you to Katie’s adorable art?

She is now giving away a custom illustration of a custom subject!

That is an amazing giveaway.

All you have to do is answer the following question: What do you love about your home?

“You don’t have you own a house, you don’t even have to have your own place. Wherever you are living, tell me why you love it! If you have moved in with your family or friends, tell me what you love about living there. If you live in a camper or apartment or loft or home or paper box for that matter, if you love it (or can find anything at all to love about it) tell me in your entry.”

You have to hurry if you are going to enter as the deadline is 11:59pm on Saturday September 4th.

Visit Oohmoon  HERE to find the entry form at the bottom of the post.

Good Luck!

Inspired

One of the best parts about linking up to craft parties is perusing through other blogger projects. This week I have been inspired by many creations. Here are a few of my favorites:

Freshly Completed made this amazing Birthday Seat which slips over a chair. The word boy is removable since its attached with velcro and can be replaced by the word girl. If this seems too complicated even a hand made sign and balloons above the birthday chair would be special.

Minimoz created Super Hero shoes which would go over very well with the cape loving crowd at my house

Minimoz also created this love map which I will be replicating somehow somewhere in my house.  Inside the frame are three hearts made of maps which represent cities in which- “We met,” “We married,” & “We live.”

Britches and Boots gives a clear and simple tutorial for freezer paper stenciling – I just love this gnome shirt. The possibilities are endless.

One Artsy Momma shared a brillant way to capture first day of school memories. Wouldn’t it be so much fun to do these every year and place them in an album to share when they graduate from high school.

We Learn As We Go shares the simple recipe (even I might be successful with this) for Graham Cracker Toffee.

The Nature of Grace shared spoon puppets which I know my kids would love making


The Mommy Diaries organized a delightful The Very Hungery Caterpillar 1st Birthday for her son

We are beginning to prepare for Halloween party and Design DNA has created something I will surely be adding to our decor. I can’t wait to fill the jars with eyeballs and growing body parts.

I am going to be busy this weekend working on some new projects.

Did you see anything that inspired you?